
Light planned around furniture, not added at the end
Cabinet lighting that balances visibility, comfort and installation
A successful cabinet lighting solution is more than a strip hidden under a shelf. The light must be bright enough for the task, soft enough to avoid glare, compact enough for the joinery and serviceable after installation. HHY helps furniture manufacturers, cabinet brands and project suppliers coordinate the LED strip, profile, diffuser, sensor, wiring and driver as one system.
We develop configurations for kitchens, wardrobes, shelves, display cabinets, vanities and custom furniture. The objective is a repeatable kit that installers can fit consistently—not a collection of parts that must be solved again on site.
Start with the visual and installation problem
Cabinet lighting works best when the source, optics, wiring and controls solve the actual furniture constraint together.
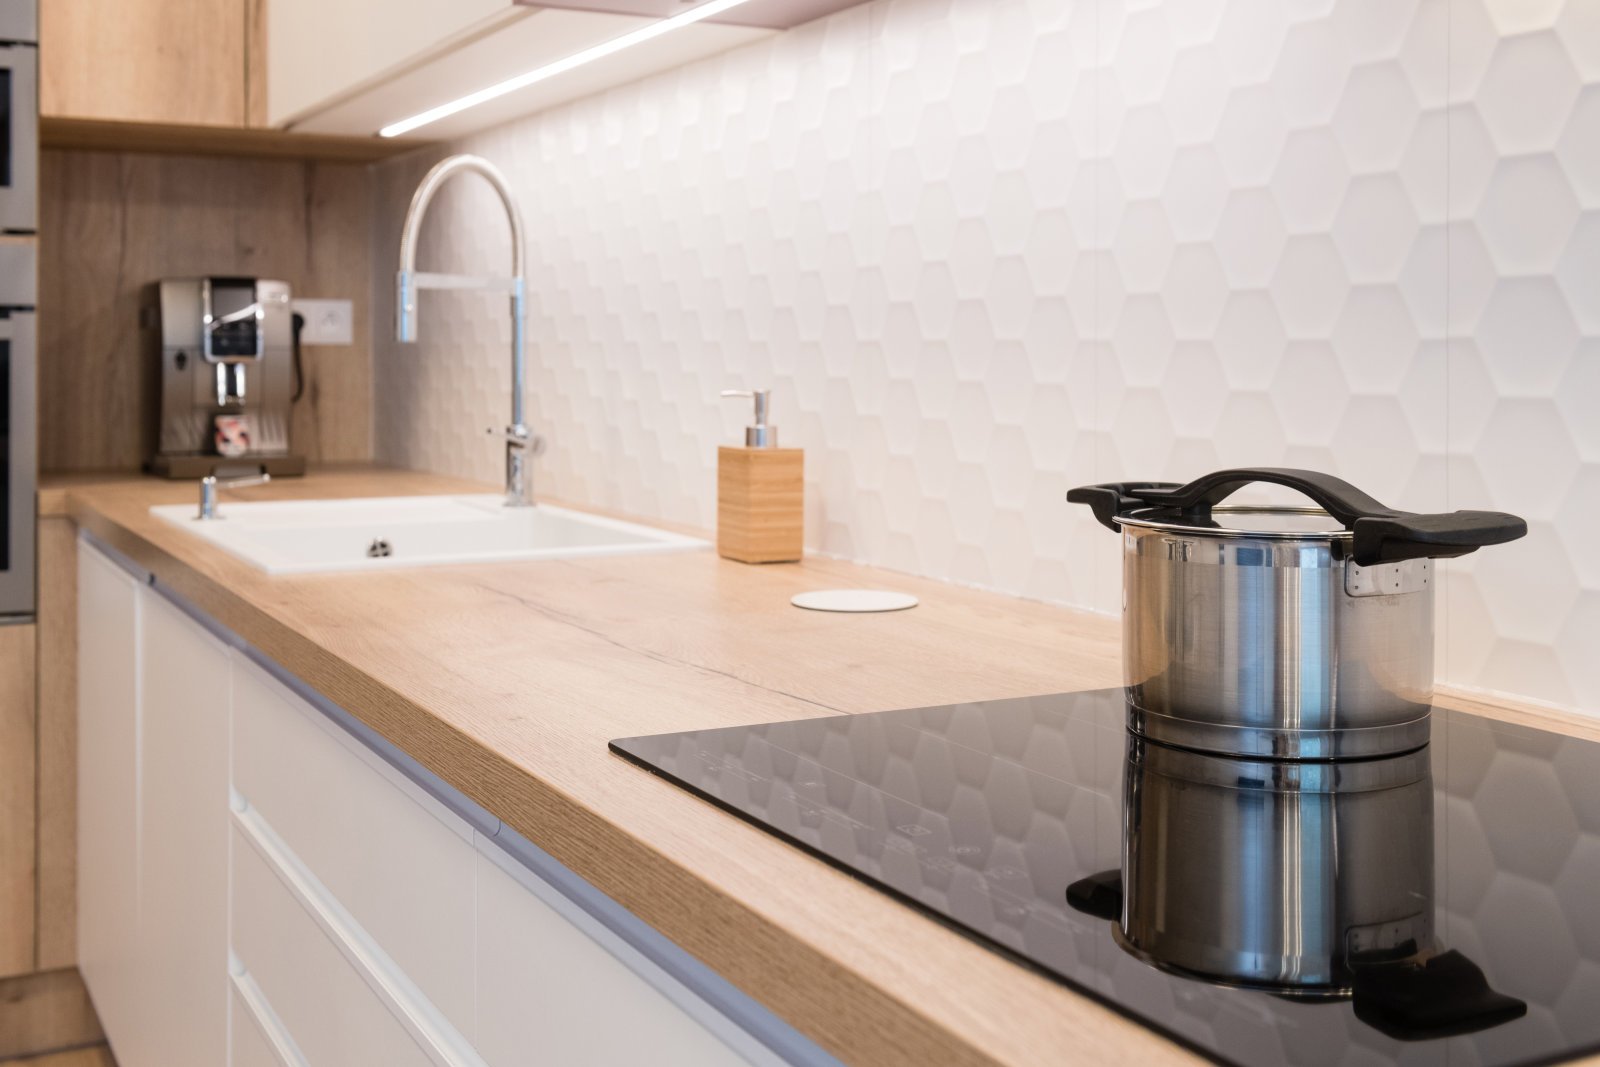
Dark Work Surfaces
Place useful light on counters by matching output and beam distribution to cabinet depth and mounting position.
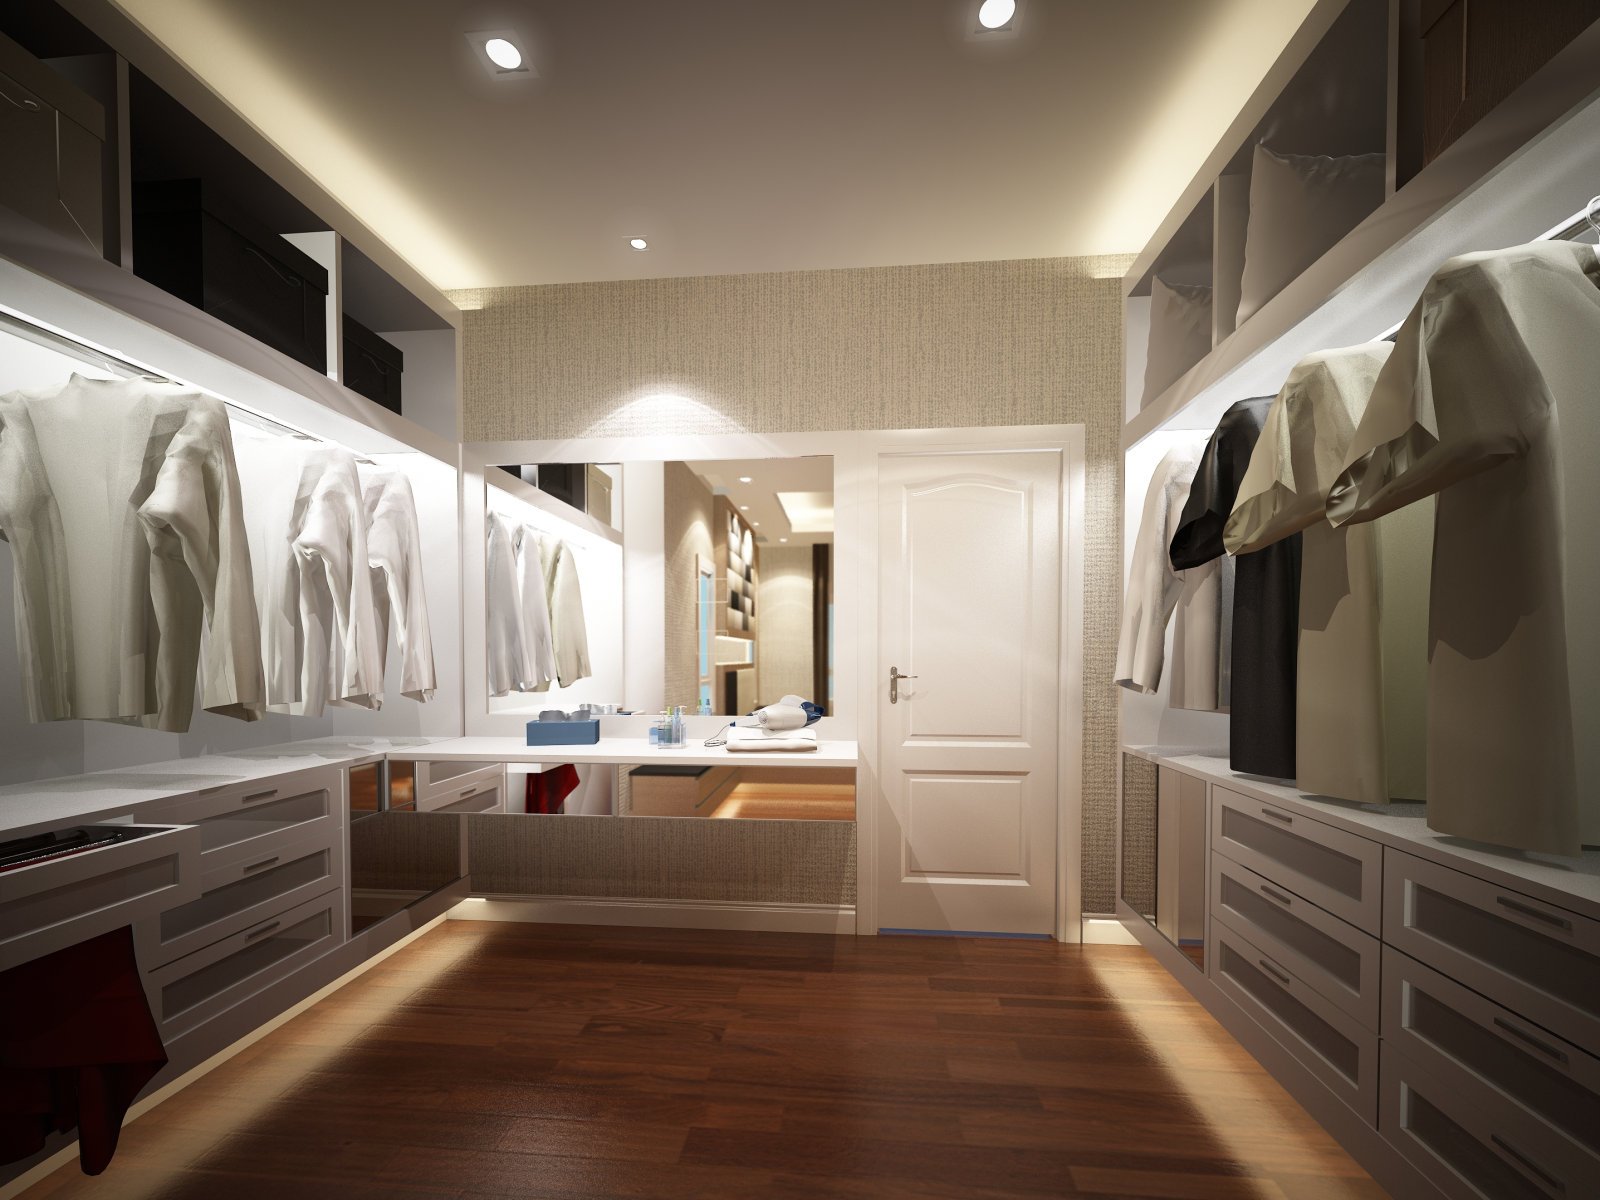
Visible Dots & Glare
Coordinate strip density, diffuser transmission, profile depth and aiming for a cleaner, more comfortable light line.
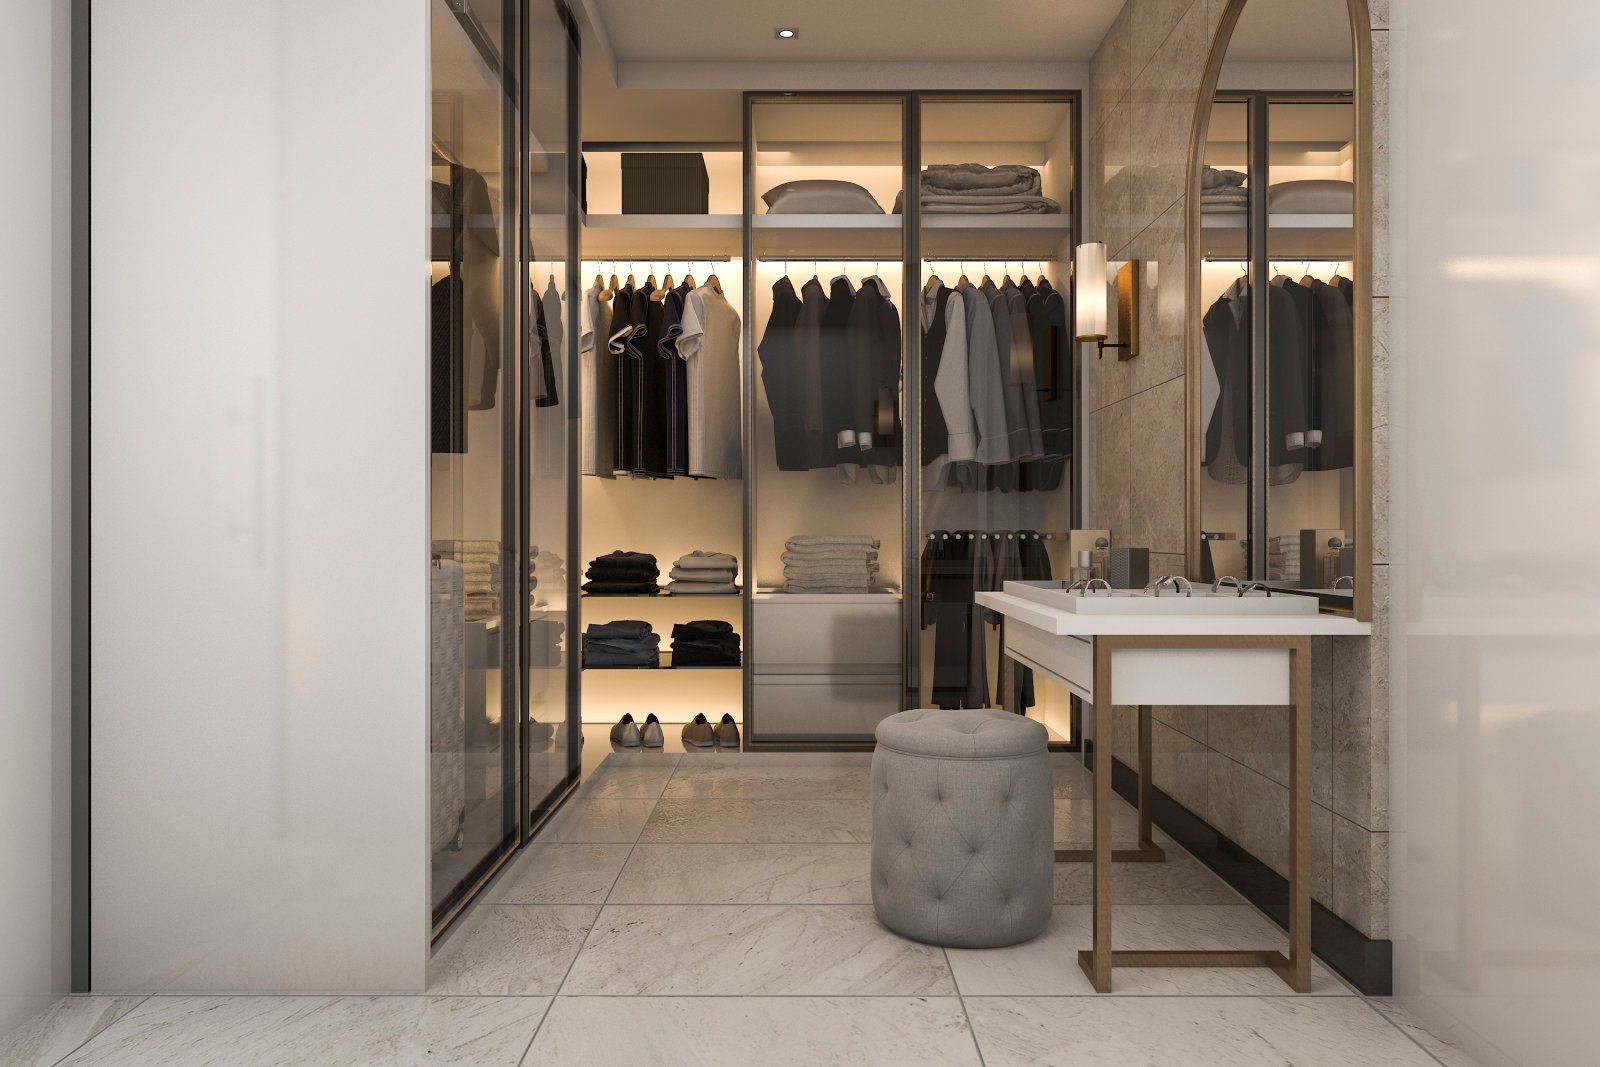
Color Consistency
Defined CCT, CRI and binning keep adjacent cabinets and repeat production batches visually coordinated.
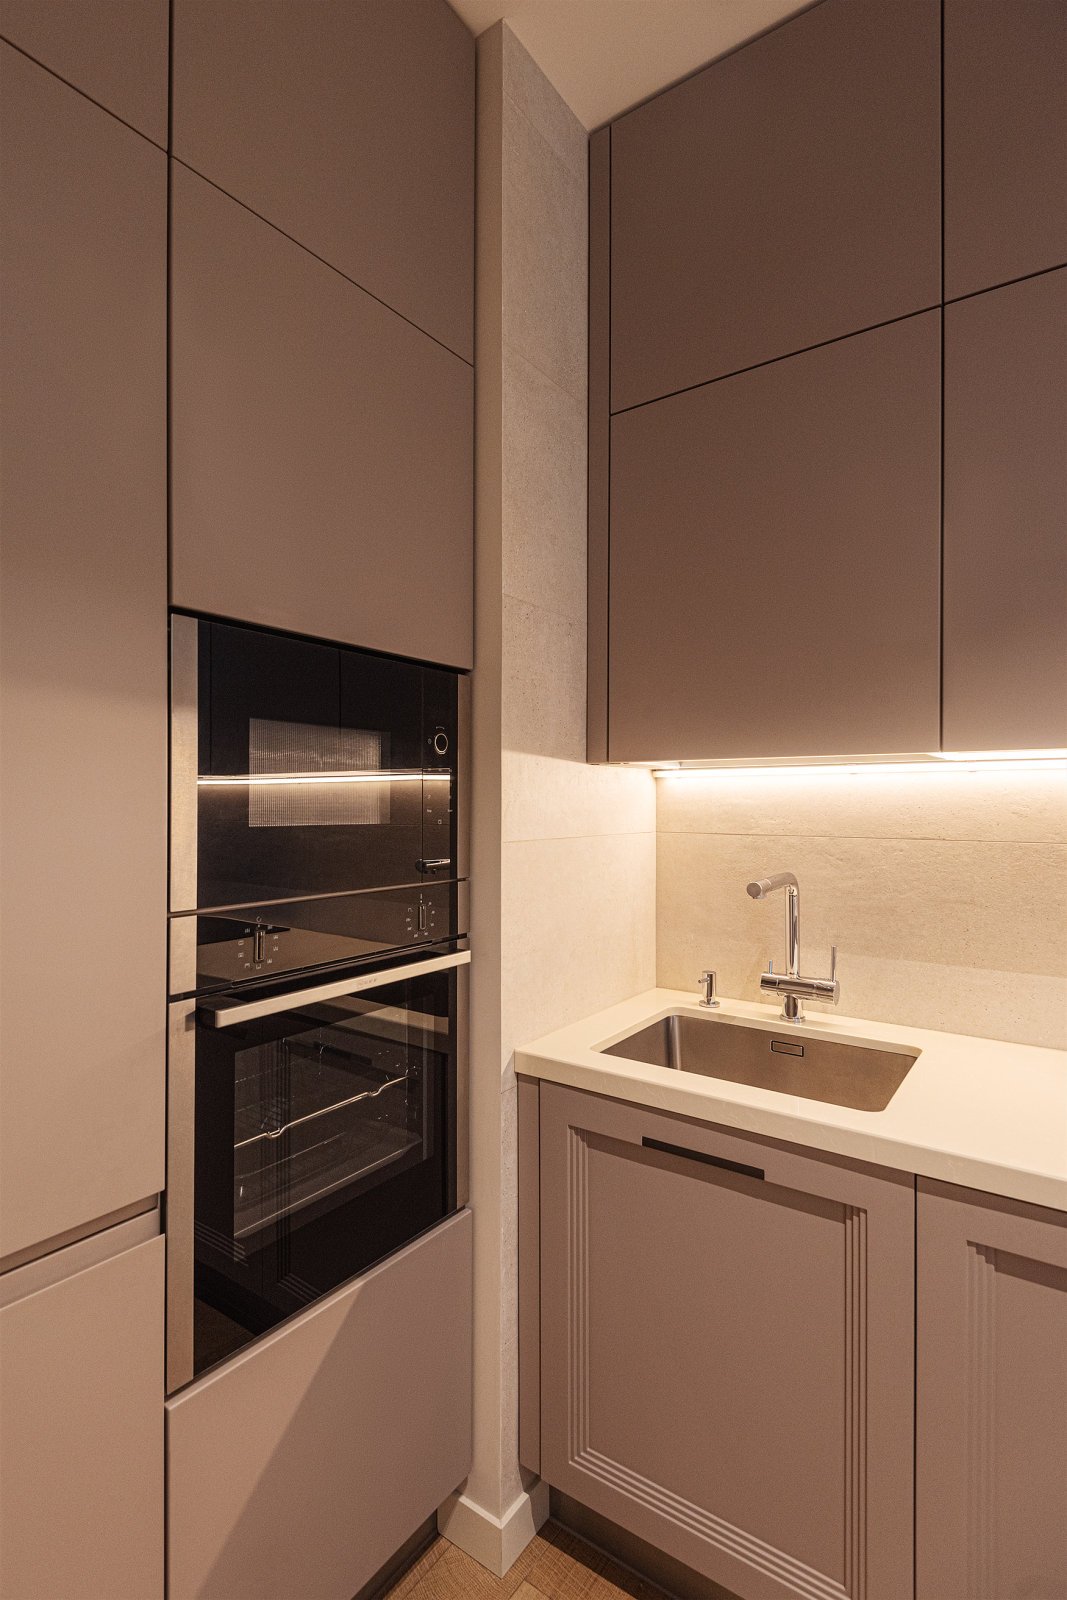
Wiring & Control
Pre-cut leads, compact connectors, accessible drivers and door, PIR or touch controls simplify repeat installation.
Application-specific choices
Different cabinets need different lighting behavior
- Kitchen counters: useful task illuminance, high color quality and easy-to-clean installation details.
- Wardrobes: soft vertical illumination with door or motion activation and minimal visible hardware.
- Retail shelves: controlled brightness and color that present merchandise consistently without hot spots.
- Display cabinets: narrow profiles, low glare and careful cable concealment for a premium finish.
- Bathroom furniture: materials and protection selected for humidity, cleaning and the installation zone.
Recommended system by installation type
Use these starting points to narrow the light engine, profile and control method before prototype testing.
| Installation | Typical light engine | Profile strategy | Control option |
|---|---|---|---|
| Under kitchen cabinet | High-CRI single color or tunable white | Recessed or surface profile with diffused, forward-directed light | Wall dimmer, touch or smart control |
| Wardrobe verticals | Soft high-density strip | Recessed side profile to wash clothes and shelves | Door switch or PIR sensor |
| Retail shelf | High-CRI strip matched to merchandise | Narrow concealed profile with glare shield | Central dimming or fixed output |
| Glass display cabinet | Mini-cut or narrow PCB strip | Compact corner or edge profile | Touch, door sensor or remote dimming |
| Decorative furniture detail | Single color, tunable white or RGBW | Indirect channel for reflected light | Scene controller or smart system |
From drawing to installation kit
A practical development process for repeat projects
- Review the furniture: dimensions, materials, routing, reflective surfaces and accessible service spaces.
- Define the light: task or accent purpose, CCT, CRI, brightness, uniformity and glare limits.
- Build the system: strip, profile, diffuser, sensor, driver, cable, connector and mounting method.
- Prototype the detail: verify fit, appearance, heat, switching behavior and installation sequence.
- Prepare for scale: pre-cut assemblies, identification, packaging and documentation reduce site work.
What can be customized
The configuration is built around the furniture drawing and repeat installation requirements.
Light Output & Color
CCT, CRI, LED density, power and dimming behavior can be balanced for the surface, material and viewing distance.
Mechanical Fit
PCB width, cut length, wire exit, profile shape, diffuser and clips can be coordinated with the furniture drawing.
Ready-to-Install Kits
Pre-cut leads, connectors, sensors, drivers, labels and project packaging simplify assembly for factories and installers.
Product and solution serve different questions
Choose the application first, then specify the LED strip
The Product section explains the available LED strip technologies and specifications. This Solution page begins with the cabinet, user behavior and installation constraint, then determines which product configuration is suitable. That separation helps buyers compare products without losing sight of the final result.
For a broader view of light engines, visit our LED Strip Lights product page. For a project recommendation, share drawings or a simple sketch showing the cabinet dimensions and desired lighting position.
Cabinet lighting FAQ
What color temperature is best for cabinet lighting?
It depends on the material and surrounding space. Warm white supports timber and hospitality interiors; neutral white is common for kitchens, wardrobes and retail. Tunable white is useful when the furniture must support different scenes.
How can visible dots be avoided?
Use a sufficiently dense strip, suitable profile depth and diffuser, or a dot-free light engine. Mock up the complete optical stack because strip density alone does not guarantee a smooth line.
Where should the driver and sensor be installed?
They should remain accessible, ventilated and compatible with cable runs and furniture assembly. The best location is decided before production so installers do not improvise on site.
Can the lighting be supplied as pre-cut kits?
Yes. Once lengths, leads, connectors, sensors and drivers are confirmed, components can be prepared and identified for repeat cabinet modules or project zones.
Bring us the cabinet, not just a wattage
Plan a cabinet lighting kit that installs cleanly
Send the furniture drawing, mounting position, preferred CCT, control method, quantity and target market. HHY will help translate those constraints into a practical strip, profile and control configuration.